Showing posts with label patterns. Show all posts

Friday, September 9, 2022

Woodcut Blossoms Blog Hop - Free Patterns

Welcome to my stop on the Woodcut Blossoms Blog Hop introducing the new Island Batik collection designed by Kathy Engle for Heidi Pridemore of Whimsical Workshop. Don't forget to scroll down to the end of this post for links to visit the other 13 stops and get the patterns on the blog hop.


 I love Heidi's collection of rich florals and dots. I received precuts of the collection earlier this year as an Island Batik Ambassador so I was well acquainted with their beauty when Heidi asked for people to help her share them with the world. I was able to use 16 fabrics from the 20 in the group for my block.

***If you are looking for my new Island Batik Black and Yellow Star Studio 180 Design Quilt and Giveaway and Tool Talk Blog Hop - here's the link for it. ***

I really like to recreate pieces of the past and am often inspired by antique quilts in my collection when working on challenges and new patterns. Churn Dash or Shoofly or Monkeywrench is an awesome traditional pattern. I doubled the pattern or added a Dash center for a more modern block. 


Step by Step Pattern for the 12 inch finished (12 1/2" unfinished) Double Dash block using simple pieces and easy half-square triangles.

         CUTTING 
Part I - Churn Dash A - 6 1/2" (6" finished)

#1 - Center square -cut 1 dark - 2 1/2" square

#2  Side strips background dot and - dark floral 
 Cut 
4 light rectangles - 1 1/2" x 2 1/2" 
4 dark rectangles - 1 1/2" x 2 1/2"
 

#3 Half Square Triangle Corners - dot and dark floral
Cut 2 sets -used for 4 corners -diagonal seam 1/2 square triangles - see below
   2 light squares
 - 3"  
   2 dark squares - 3"  
**after sewing trim down to 2 1/2" squares 

-------------------
Part II -  Churn Dash B - 12 1/2" (12" finished)

(Center is completed Churn Dash A) 

#1 Side strips background dots/florals and - dark floral 
 Cut
4 light rectangles - 2" x 6 1/2" 
4 dark rectangles - 2" x 6 1/2"

#2 Half Square Triangle Corners - lt. dot/floral and dark floral
Cut 2 sets  -
used for 4 corners -diagonal seam 1/2 square triangles
2 light squares - 4"  
2 dark squares - 4"
**after sewing trim down to 3 1/2" squares

        PIECING 
#1 - Diagonal seams - Half square triangles using 2 sets of light and dark squares (background and florals fabrics) for corners of each Churn Dash sections. You'll make 2 different sets - small for Churn A and larger for Churn B.

Place a background and floral 3" square right sides together and draw a diagonal line from corner to corner on back of light fabric. Then draw a sewing line 1/4" on both sides of the diagonal. 
You will sew on these lines. Cut on the middle line and press block to the dark. Make 2nd pair of half squares. This makes 4 half square triangles. **Trim Churn A units to 2 1/2". 

Repeat process with 4" squares for Churn Dash B corners and make another 4 half square triangles. **Trim these to 3 1/2".

#2  Rectangle Strip units -
Sew a  light and dark rectangle (1 1/2" x 2 1/2")  together, press to dark, repeat to make 4 units for Churn A.

Sew a  light and dark rectangle (2" x 6 1/2")  together, press to dark, repeat to make 4 units for Churn B.

#3 - Block Construction  **for nesting seams and no dark fabric shadows, I pieced in horizontal rows and pressed to the dark fabrics and toward the rectangle strip sets.

Churn A - 
Row 1 and 3 - join 2 smaller 1/2 square triangles to a smaller rectangle strip,
Row 2 - join 2 rectangle strips to center square  
Add rows 1 and 3 to top/bottom of center row.
Churn A block should measure 6 1/2" 

Churn B
Row 1 and 3 - join 2 larger 1/2 square triangles to a larger rectangle strip,
Row 2 - join 2 rectangle strips to sides of Churn A
Add rows 1 and 3 to top/bottom of center row.
Double Churn Block should measure 12 1/2"

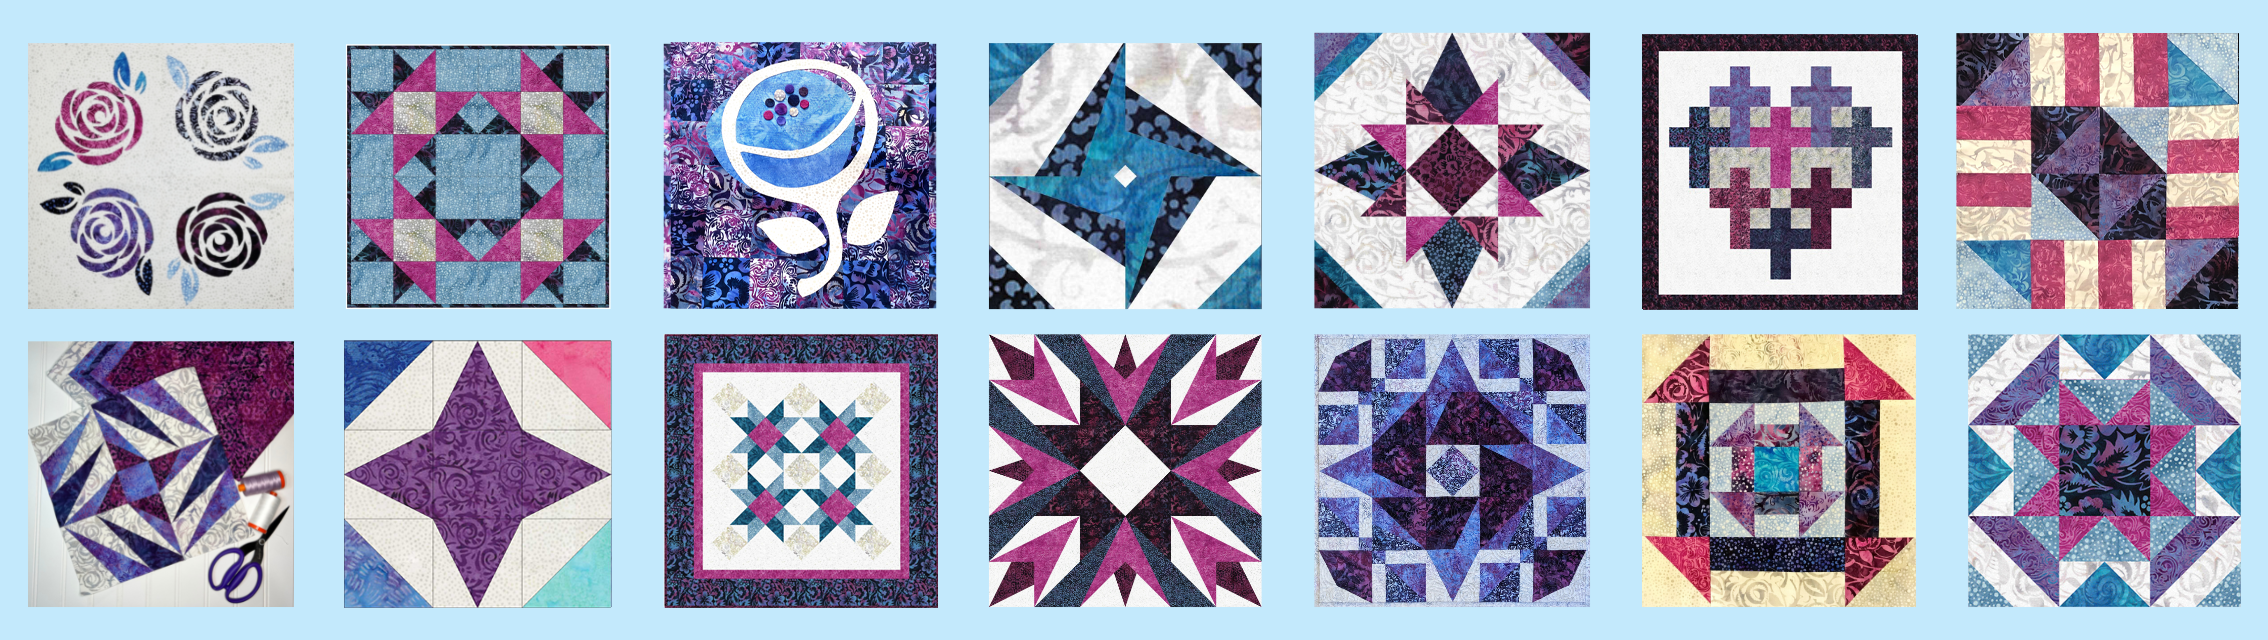
Voila!!  And here are 4 more ways to arrange the same set of pieces for different Double Dash blocks. You could make a fun little quilt using your 4 favorite Double Dash Blocks.

Follow me on social media @Textile Time Travels

For more patterns, visit my Etsy Shop, Textile Time Travels


Textile Time Travels on Instagram and 
Textile Time Travels on Facebook


WOODCUT BLOSSOMS BLOG HOP

To see all the other beautiful (and free) patterns created by my talented friends, visit their blogs (links below:

Heidi Pridemore (this is her amazing fabric collection!) Heidi's blog
Leanne Parsons Devoted Quilter
Tiffany Hayes  Needle In A Hayes Stack
Tammy Silvers Tamarinis
Kris Driessen Scrap Dash
Laureen M Smith Tourmaline Thyme Quilts
Rebecca Lidstrom StudiorQuilts
Laura L. Strickland Orange Blossom Quilt
Lissa LaGreca Lovingly Lissa
Katie Mae Quilts  KatieMaeQuilts
Laura Piland Slice of Pi Quilts

Friday, October 8, 2021

Antique Cheddar Houses Old and New

I'm sew excited to give you a sneak peek at my secret sewing project that will soon be coming to your mailbox, newsstand, quilt store or bookstore. Okay, it is soon to be published in American Patchwork & Quilting Magazine!!!

 Just a tease for now. 


 Antique cheddar houses quilt top from my Starley Quilt Collection with mini repro blocks. Blocks are from the amazing Homestead Harvest Collection by Me and My Stitches - Julie Letvin. Fabric by Robert Kaufman Fabrics. It is still available in limited quantities - released earlier this year. You'll need fat 1/8's of each print (24 in all) or get quarter yards (more is better) to make the soon-to-be-published pattern, So if you find some, snatch it up and get ready to SEW!!!

Saturday, January 2, 2021

Utah - Around The Block - US Tour - Block 23 - Utah

 I hope you have already been touring and sewing all around the United States with the Around - US Tour! If not, then you have a LOT of new blocks to learn about since we are already on Block #23. Yes, you'll have a great new sewing project for the new year. Of course with Utah being the Beehive State, I had to make a beehive block. And since the top right corner of the state was cut out for Wyoming, I had to add that too. I used colors that represent the natural beauty of our "Pretty, Great State".

Of course, you can travel virtually to all the states (and some territories too) or just make a few of your favorite blocks. Perhaps you'll make a small quilt representing the states you've lived in or visited. Maybe that will make a big quilt if you moved or traveled a lot. You'll want to visit the main site after you are done making your Utah block.


I hope you'll enjoy this tutorial.  (PS. A bit about me -Sandra Starley - Textile Time Travels. I'm an AQS Certified Quilt Appraiser & an avid antique quilt collector. I love sharing my collection in virtual online trunk shows (can't wait to do live ones again) and quilt classes -see tabs aboe for more info. I'd love to come to your guild, show, or shop. I  enjoy recreating quilts in my collection and design new ones -patterns available in my Etsy shop Textile Time Travels. Follow me via Textile Time Travels on  FacebookInstagram, and Twitter.  

**All the instructions are listed below. Nothing to download** 

The cutting and piecing is all simple so if you are new to quilting, please jump in!!

You'll just need scraps as the longest cut is 5 1/2". ALL strips are cut 1 1/2" High. I used 2 blues alternating (light and medium) for background and 2 yellow/browns for the Beehive. Plus 1 small rectangle for Wyoming (top right corner) and 1 small square for the hive opening. Just 6 fabrics.  All cutting measurements are below next to the pictured rows.


Row 1 - Lt blue 1 1/2 x 5", Light 1 1/2 x 2"

Row 2 Med blue (2) 1 1/2 x 2 1/2, Yellow 1 1/2 x 2 1/2"

Row 3- Lt blue (2) 1 1/2 x 2, Brown 1 1/2 x 3 1/2"

Row 4 Med blue (2) 1 1/2 x 1 1/2, Yellow 1 1/2 x 4 1/2"

Row 5 Lt blue (2) 1 1/2 x 1, Brown 1 1/2 x 5 1/2"

Row 6 Yellow (2) 1 1/2 x 3, Dk. brown 1 1/2 x 1 1/2"


Sew by ROWS - join pieces. Start with row 1, sew blue and light pieces together. Row 2, sew blue to yellow and then add another blue to the yellow. See the layout above and below. 

Join rows in pairs and then join the pairs together. And then you are done!!! Block measures 6 1/2.

PRESSING: Press all row piecing seams to the center, inward. Press all the row joining seams downward. See the picture below of the block back:


And here's the completed block again. Hope you enjoy making your own version of UTAH, the Beehive State! 
Shout out and thank you to Cheryl Lynch for letting me play with her new fabric line: Mosaic Masterpiece for Hoffman Fabrics

Visit my Facebook page Textile Time Travels for a chance to win great prizes via our block designer 


Hope you'll visit all the prior and future block designers. For more info visit the Around the Block - US Tour Center 

Upcoming 
Week 24 Puerto Rico 

 Week 25 Rhode Island


Related Posts Plugin for WordPress, Blogger...